
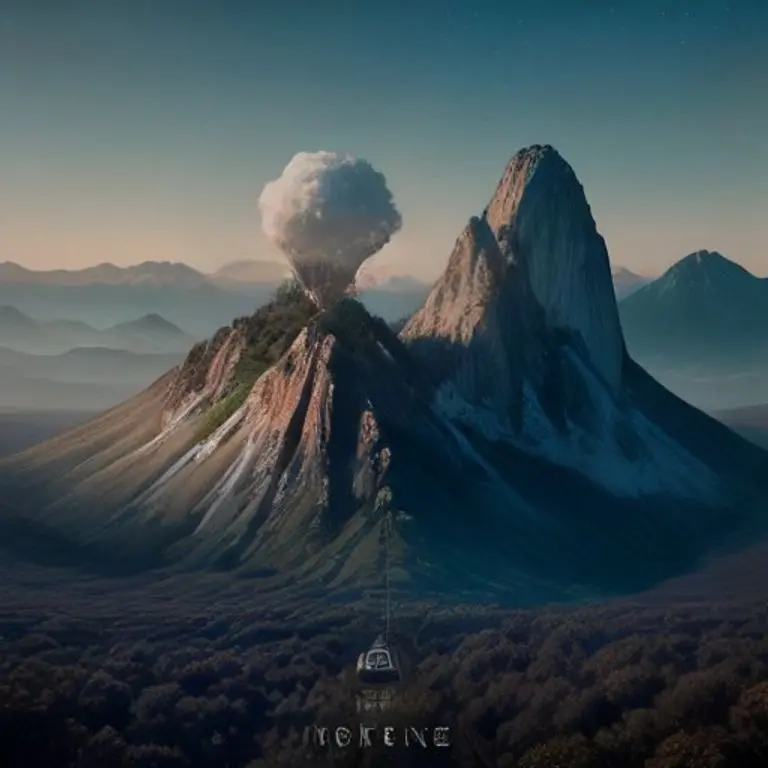
What is AI Image Generation?
Why This Matters: Turning Words into Pictures
Before AI image generation, if you wanted a picture of a specific scene — say, a red fox sitting on a snowy porch at dusk — you had three options: find a stock photo that was close enough, hire an illustrator, or learn to draw. All three take time, money, or skill you may not have. AI image generation removes that bottleneck. You type a sentence, and within seconds you get an image that matches your description. This is not a toy. It is used daily by product designers to sketch concepts, by marketers to create campaign visuals, by architects to visualize spaces, and by writers to illustrate articles. The skill you are learning here — writing a good prompt — is the same skill professionals use, just at a smaller scale.
Here is the core idea: an AI image model is a program that has been trained on millions of images paired with text descriptions. When you give it a prompt, it generates a new image that statistically matches the patterns it learned. It does not copy an existing image; it creates a new one from the patterns. Your job is to describe what you want clearly enough that the model can translate your words into pixels.
The Anatomy of a Good Prompt
A prompt is not a sentence you type casually. It is a structured description. Professional prompt writers break it into three parts:
- Subject: What is the main thing in the image? Be specific. "A fox" is weak. "A red fox sitting on a wooden porch" is stronger.
- Style: What artistic direction? Options include "photorealistic," "watercolor painting," "3D render," "cartoon," "oil painting," "pixel art."
- Lighting and mood: How does the light hit the scene? "Golden hour," "dim candlelight," "overcast," "neon glow." This changes the entire feel.
Here is a weak prompt: a fox. The model will give you a random fox in random lighting. Here is a strong prompt: a red fox sitting on a wooden porch at dusk, photorealistic, warm golden light, shallow depth of field. The difference is night and day. The model knows exactly what to do.
Worked Example: From Blank Page to Finished Image
We will use Bing Image Creator (powered by DALL-E). It is free, requires only a Microsoft account, and works in any browser. No installation. This is the fastest way to get hands-on.
Here is the exact step sequence:
- Open your browser and go to
bing.com/create. - Sign in with your Microsoft account. If you do not have one, create it — it takes two minutes.
- You will see a text box labeled "Describe the image you'd like to create."
- Type this exact prompt:
a red fox sitting on a wooden porch at dusk, photorealistic, warm golden light, shallow depth of field. - Click the Create button (or press Enter).
- Wait 5–10 seconds. You will get four variations.
Look at the results. Notice the fur texture, the lighting, the background. This is what a well-structured prompt produces.
Modifying the Prompt to Change the Style
Now we change one variable at a time. This is how you learn what each word does.
Keep the subject identical, but replace the style and lighting. Type this prompt:
a red fox sitting on a wooden porch at dusk, watercolor painting, soft pastel colors, loose brush strokesClick Create again. Compare with the first result. The subject is the same, but the entire mood changed. The image now looks like an art print, not a photograph.
Try a third style:
a red fox sitting on a wooden porch at dusk, 3D render, Pixar style, vibrant colors, soft studio lightingNow you have a cartoon-like fox. Same subject, three completely different images. This is the power of prompt engineering: you control the output by controlling the words.
Why Specific Words Matter
Beginners often write vague prompts and get frustrated. The model is not being difficult — it is being literal. If you write a nice picture, the model has no idea what "nice" means. It will guess. If you write a portrait of an elderly fisherman with a weathered face, oil painting, dramatic side lighting, the model has clear instructions.
Here is a practical rule: if you can close your eyes and picture the image, your prompt is specific enough. If you cannot, add more detail.
Expert Tip
Do not describe what you do not want. The model does not process negation well. If you write "a fox without a tail," the model may still give it a tail because it has learned that foxes have tails. Instead, describe what you do want: "a fox with a short stubby tail." This is a non-obvious quirk of how these models are trained — they predict the next most likely pixel pattern, and "without" is not a visual concept. Always phrase your prompt in positive terms.
Common Mistakes
Common Mistakes Beginners Make
- Writing a paragraph instead of a prompt. The model handles short, descriptive phrases better than long sentences. Break it into keywords: subject, style, lighting.
- Ignoring the style word. If you do not specify a style, the model defaults to a generic photorealistic look. That is fine, but you lose control.
- Not iterating. The first result is rarely perfect. Professionals generate 10–20 variations and pick the best. Do not settle for the first image.
- Using abstract adjectives. Words like "beautiful," "amazing," or "cool" do not translate to pixels. Use concrete descriptors: "golden hour," "high contrast," "wide angle."
Your Practice Task
You have 15 minutes. Here is what to do:
- Go to
bing.com/createand sign in. - Generate an image of a lighthouse on a rocky cliff during a storm. Use the prompt structure: subject + style + lighting. Start with:
a lighthouse on a rocky cliff during a storm, photorealistic, dark storm clouds, lightning in the background. - Now change the style to oil painting and the lighting to moonlight. Generate again.
- Change the style to pixel art and the lighting to sunset. Generate a third time.
- Compare the three images. Notice how the subject stays constant but the mood changes completely.
Self-verification: You have succeeded if you can look at each image and immediately identify which style and lighting you used. If you cannot tell the difference between the photorealistic and the oil painting version, your prompt was not specific enough — go back and add more detail to the style description.
This is the foundation. In the next lesson, we will build on this by learning how to control composition, camera angles, and more advanced prompt techniques.
Loading ratings...